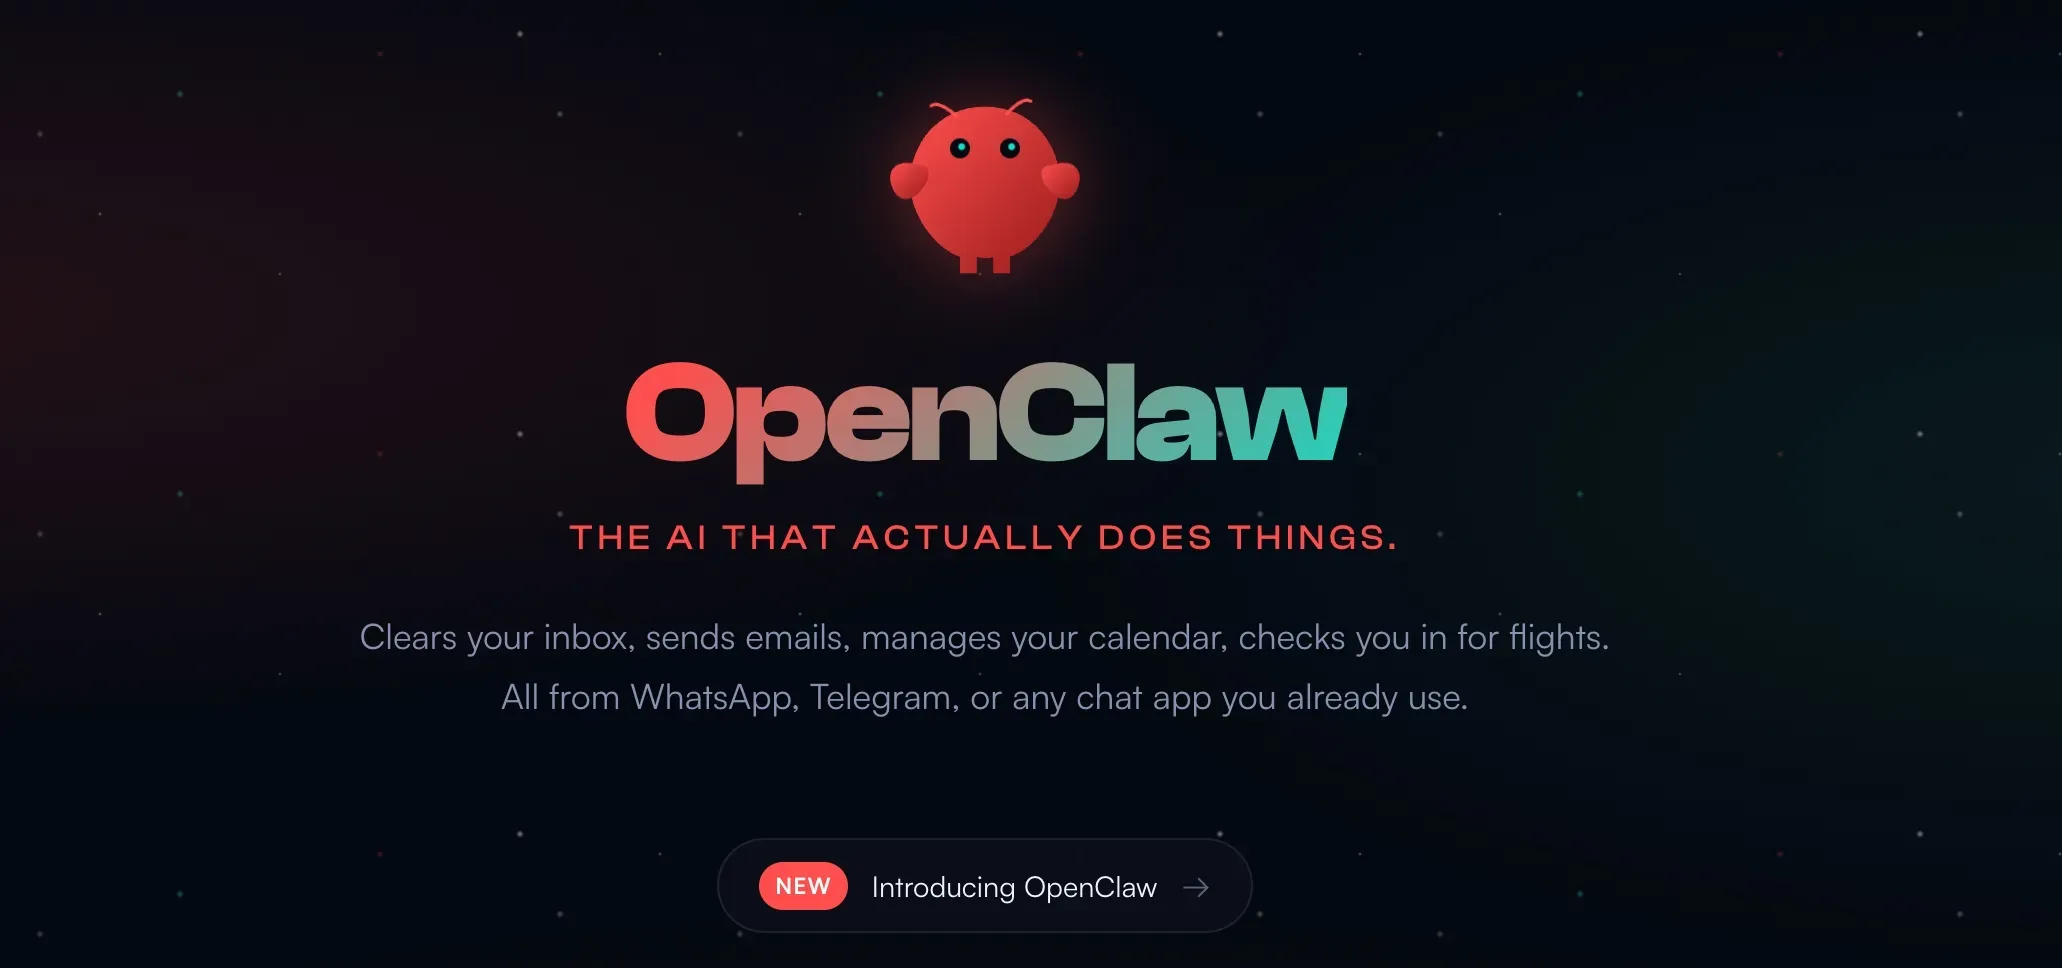
Openclaw Beginner Guide: Safe Setup on Mac & Windows
Openclaw is one of the most talked-about AI agents today. It can control apps, remember how you work, and automate real tasks on your computer. This guide walks through what Openclaw actually is, how to install it safely on macOS and Windows, and how to avoid the most common beginner mistakes.
AI agents are no longer just experimental tools living in chat windows. They are starting to operate real software, touch real files, and carry long-term memory. Openclaw sits at that turning point, where AI stops talking and starts acting.
It is powerful enough to feel exciting, and risky enough to make people pause. That tension is exactly why setup and structure matter more than speed.
Part 1: What Is Openclaw?
Openclaw is a local AI agent designed to run inside an operating system instead of a browser tab. You may have seen it under its earlier names: it launched as Clawdbot, was later renamed Moltbot, and now goes by Openclaw. If you've been searching for Moltbot tutorials or Clawdbot guides, you're in the right place -- it's the same project, just rebranded.
Rather than stopping at answers, Openclaw can open applications, control a real browser, draft emails, create Notion pages, and remember how you prefer tasks to be done. Over time, it builds a working memory that feels closer to a human assistant than a prompt-response tool.
From an industry point of view, Openclaw belongs to a new class of products often described as computer-use agents. These systems are built to execute workflows, not just suggest them.
That capability is what makes Openclaw compelling. It is also what makes careless usage dangerous. When an AI can click, type, and browse, mistakes no longer stay theoretical. They become system-level problems.
Openclaw is not dangerous by default. It becomes dangerous when it is given unrestricted access without boundaries.
Understanding Openclaw is less about features and more about deployment. The same tool can feel reckless or reliable depending on how it is installed.
Part 2: How to Install Openclaw on macOS
On macOS, the safest way to use Openclaw is not to install it directly on your main computer.
For most beginners, the safest path looks like this:
- Create a virtual macOS environment using UTM
- Set up the virtual Mac as a clean system
- Install Openclaw inside the virtual machine
- Complete onboarding with minimal permissions
A more controlled approach uses a virtual machine created with UTM. This gives Openclaw its own isolated macOS environment. It behaves like a separate computer that lives inside your real one.
Why a virtual Mac matters
Running Openclaw inside a virtual Mac changes the risk model entirely. The agent can operate freely within that environment, but it cannot touch your real files, applications, or credentials.
If something goes wrong, the impact stays contained. You can shut down the virtual machine and nothing leaks into your daily workspace.
If you have never used a virtual machine before, do not worry. UTM provides a preconfigured macOS option, and most users can keep the default CPU and memory settings without any tuning.
Installing Openclaw inside the virtual system
Once the virtual Mac is set up, Openclaw itself is surprisingly easy to install. The project provides a single command that installs dependencies automatically. You do not need to manually configure environments or package managers.
After installation, Openclaw walks through an onboarding flow. You choose an AI provider, paste in an API key, and select a communication channel. Many users opt for Anthropic models and connect Telegram so they can message Openclaw remotely.
At this stage, Openclaw is running, responsive, and intentionally limited. It has no access to sensitive apps yet. This is exactly where beginners should start.
In practice, this means opening the Terminal app inside the virtual Mac, pasting the official installation command, and letting the installer handle the rest. No manual dependency setup is required.
Part 3: How to Install Openclaw on Windows
Before starting on Windows, it helps to know what to expect. The setup usually works, but it involves more preparation than macOS, and it's normal to run into small permission warnings along the way.
Openclaw also runs on Windows, though the setup process requires more preparation.
At a high level, the Windows setup has three stages:
- Install required dependencies such as Git and Node.js
- Allow PowerShell to run installation scripts
- Install Openclaw and start the local gateway service
Windows users typically need to install Git and Node.js before running Openclaw. PowerShell may block scripts by default, which means execution policies need to be adjusted for the current user.
Once those prerequisites are in place, Openclaw can be installed and onboarded through the command line. The onboarding steps are similar to macOS, including provider selection and browser-based authentication.

One additional requirement on Windows is the gateway service. This service allows Openclaw to expose a local interface and run reliably in the background. Installing it usually requires administrator permissions and firewall approval.
After the gateway is running, Openclaw becomes accessible through a local web UI. From there, usage is consistent across platforms.
Once the gateway service is running and the local web interface opens, Openclaw is ready to use. From this point forward, daily usage is the same as on macOS.
Pros
Cons
Windows users who are comfortable with light troubleshooting will find Openclaw usable. Those who prefer a smoother experience often gravitate toward macOS or Linux.
Bonus Part: Best Vibe Coding Platform Recommended
YouWare is an AI-powered platform designed for building real products faster, without sacrificing control. It focuses on turning natural language into working software, combining frontend generation with a practical backend layer. Instead of locking users into rigid templates, YouWare emphasizes exportable code, flexible deployment, and a workflow that feels closer to real development than no-code tools. For teams and individuals exploring AI agents, automation, and modern product building, YouWare serves as a practical foundation rather than a closed system.
Ready to build something amazing?
Start FreePart 4: FAQs on Openclaw
Is Openclaw safe to use?
Openclaw's safety depends on how it is deployed. Running it inside a virtual machine and limiting permissions dramatically reduces risk. Installing it directly on a main system without boundaries is not recommended. With the right setup, Openclaw is approachable even for beginners.
Is Openclaw the same thing as Moltbot?
Yes. The project started as Clawdbot, was later renamed Moltbot, and is now officially called Openclaw. The core functionality remains the same -- it's the same open-source AI agent, just with a new name and updated branding.
Does Openclaw need access to my email and documents?
No. Access should be granted selectively. Many users start by allowing Openclaw to create email drafts without sending them, which keeps control in human hands.
Does Openclaw store my credentials?
It does not have to. When used with middleware such as Zapier through the Model Context Protocol, credentials stay with the integration platform rather than inside Openclaw itself.
Is Openclaw expensive to run?
Costs depend on the AI model and how frequently tasks are executed. For most light automation and content workflows, usage costs remain relatively low.
Is Openclaw suitable for beginners?
Yes, provided it is set up carefully. While the concept of an AI agent may sound advanced, everyday usage becomes simple once installation and isolation are in place.
Conclusion
Openclaw (formerly Moltbot) is an AI agent designed to automate real tasks, not just respond to prompts. With proper isolation and limited permissions, it can be used safely on both macOS and Windows. For beginners, a careful setup is the key to getting value from Openclaw without unnecessary risk.